Sunday, October 4, 2020

revisiting the Home Again kit from Twitchit Craft Kits


Hi all,

Today I wanted to revisit the Home Again Kits from Twitchit Craft Kits. I still have quite a bit left from the kit and came up with these two quick and easy layouts.


As always I Distressed the edges and popped things up with dimensional foam. I kept both layouts fairly simple and just used what I had left from the kits.


For more kits and inspiration please go to: 
https://www.twitchit.com.au/

Check out Kylie's Kreations at:
Instagram: Kyliecoleman50 

Pinterest: https://pin.it/7wbUP2V

Thanks for stopping by and happy crafting everyone 

Kylie xx

Friday, September 25, 2020

Beautiful for Paper Passion Posh

Hi all,

I am sharing my latest layout for Paper Passion Posh using the 3D Butterfly cut file. 

You can get the cutfile here:
listing/796373192/butterfly-svg-3d-butterfly-svg-printable?ref=shop_home_active_3

I cut the butterfly fairy large on white textured cardstock.


I used the September Moodboard for my inspiration.


Using my Silhouette software I created a stencil with smaller butterflies which I then scrapped some texture paste through for my background. Once dry I went to work with some mixed media.
I didn't have the right colour so I mixed various Pink and Blue Lindy's Magicals to get the purple I wanted.


Next I stamped some flowers and leaves onto watercolour cardstock, painted them with Lindy's Magical's and cut them out.

I layered them around the photo and around the page.


I kept the back of the butterfly white so that it would stand out against the background.


My Title was made using a die from Paper Rose.


I finished off with some pearl dots scattered around the page.


For more cutfiles check out 
Paper Passion Posh at:
https://www.etsy.com/ca/shop/PaperPassionPosh?ref=search_shop_redirect


For more inspiration check out 
Kylie's Kreations at:
Instagram: Kyliecoleman50 
Pinterest: https://pin.it/7wbUP2V
Blog: kylieskreations2020.blogspot.com

Thanks for stopping by and happy crafting everyone 

Kylie xx

Wednesday, September 9, 2020

So Sweet for Craft on the Run

Hi again,

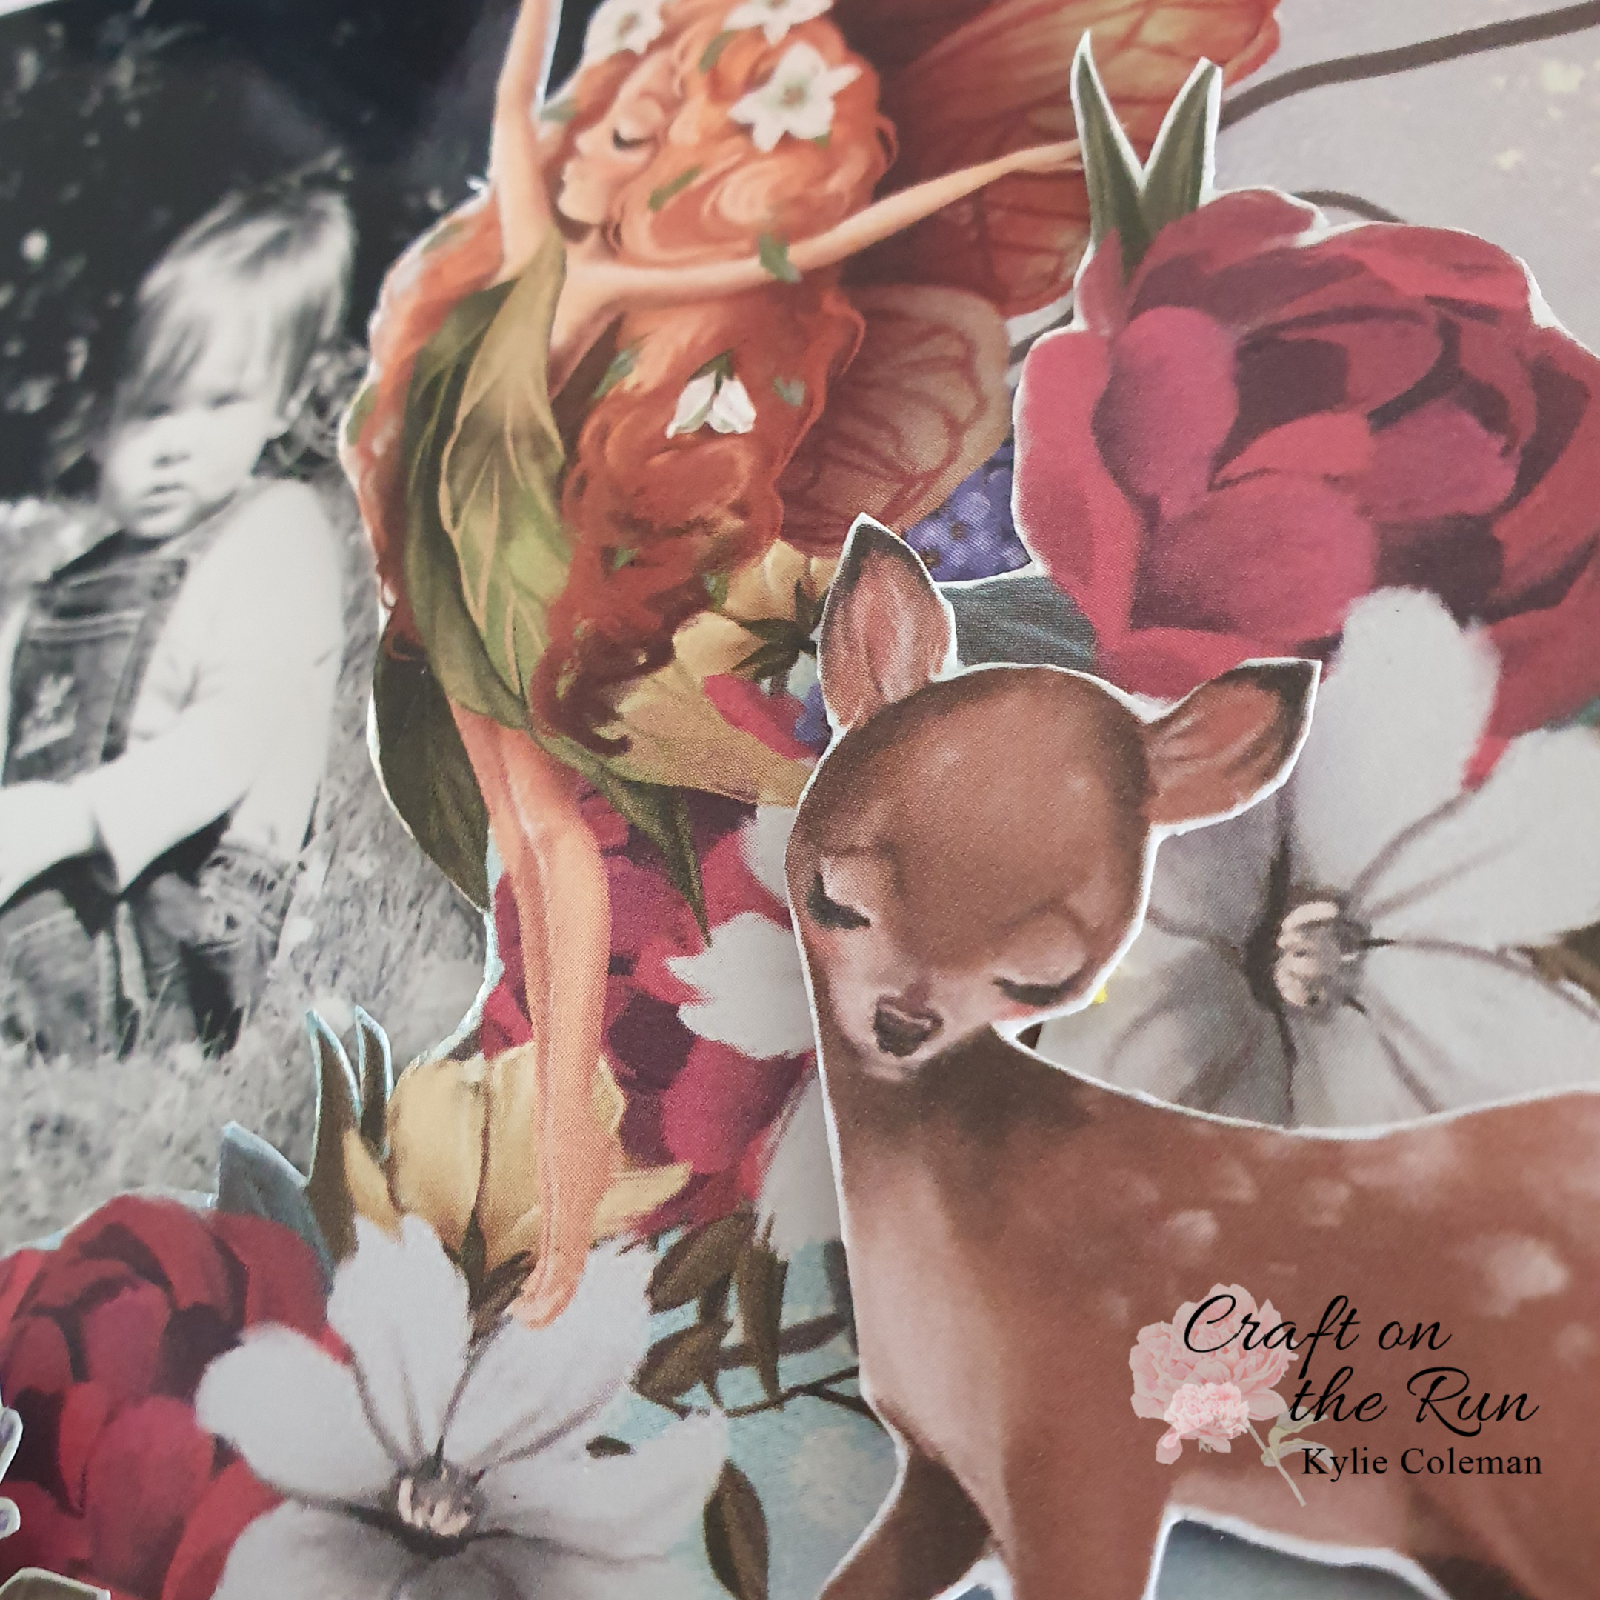
I'm back with my second layout using the Fairy Land collection from Scrap Boys. 

I used the wreath page as my base and already had all the fussy cutting done so this page came together very quickly.

I used a scalpel knife to cut around the fairy on the right so that I could nestle my photo behind.

Next I simply layered the elements using the wreath as a guide. Some I popped up with foam tape for added interest and dimension.


Visit Craft on the Run at:

For more inspiration check out Kylie's Kreations at:
Instagram: Kyliecoleman50 
Pinterest: https://pin.it/7wbUP2V
Blog: kylieskreations2020.blogspot.com

Thanks for stopping by and happy crafting everyone 

Kylie xx

Sunday, September 6, 2020

Believe For Craft on the Run

Hi all,

Today I'm excited to be creating with the adorable Fairy Land collection from Scrap Boys. So so cute!

For my first layout with this collection I took inspiration from the September sketch challenge for the Craft on the Run facebook group: 
https://www.facebook.com/groups/192952778620564/?ref=share

But first...Fussy cutting. Lots of fussy cutting. 


I chose a black and white photo and trimmed it to 4x4 inches and layered with the soft pastels from the collection.

I then layered the elements around the photo popping some up with foam tape for some dimension.  

I cut the title "believe" twice on my cameo and layered the white behind and off centre for a shadow effect.


I just love the way the fairy looks like she's giving a kiss. It fit perfectly with the photo.

I hope I have inspired you in some one today.

Visit Craft on the Run at:

For more inspiration check out Kylie's Kreations at:
Instagram: Kyliecoleman50 
Pinterest: https://pin.it/7wbUP2V
Blog: kylieskreations2020.blogspot.com

Thanks for stopping by and happy crafting everyone 

Kylie xx


Tuesday, August 25, 2020

Sweet Dreams for Paper Passion Posh


Hi all,

Today I am sharing a layout I created for Paper Passion Posh using the Dream Catchers cut file. 


I cut it twice in two sizes on plain white textured cardstock and then coloured with Lindy's Magical shakers in Magnolia Magenta Gold, Time Travel Teal and Bavarian Blue.

I made the larger dream catcher into a shaker.


For the background I used white textured cardstock and coloured diagonally across the page with the Lindy's magical Magnolia Magenta Gold.


I continued the diagonal theme across the page as I adhered the pieces down.


I used left over pieces from the Happiness collection from Cocoa Vanilla Studio to embellish and finished with some black splatters around the page.


I hope I have inspired you in some way today. 

For more cutfiles check out 
Paper Passion Posh at:
https://www.etsy.com/ca/shop/PaperPassionPosh?ref=search_shop_redirect


For more inspiration check out 
Kylie's Kreations at:
Instagram: Kyliecoleman50 
Pinterest: https://pin.it/7wbUP2V
Blog: kylieskreations2020.blogspot.com

Thanks for stopping by and happy crafting everyone 

Kylie xx

Tuesday, August 18, 2020

Forever for Craft on the Run


 Hi again,

I'm back again sharing the step by step instructions for how I created this layout featuring the Cerulean Spring collection from 3Quarter Designs.

From my stash I am using white textured cardstock for my base, you could also use watercolour cardstock and Brusho's watercolour crystals in Emerald Green and Prussian Blue and Colbalt Blue along with white acrylic paint, black Staz on ink and Prima Chalk Paste in Buckram Binding and Distress Oxide in Vintage Photo. I also used the Tim Holtz Measured stencil, Kaisercraft 6x6 Stencil words stencil and Uniquely Creative Text stamp.

Step 1. The background.
Spray the cardstock with water.
Sprinkle with Brusho's watercolour crystals.
Spray with water. Watch the magic happen.
Let dry.
Apply white Gesso or white acrylic paint through the stencil words stencil with a make up sponge randomly over the page.
Add stamping with black Staz on ink and a text stamp. 
Again using the make up sponge apply the chalk paste through the Measured stencil.


Step 2. The corrugated card.
Apply a layer of Gesso or white acrylic paint and let dry. I did two layers.
Sprinkle the watercolor crystal randomly over the gesso. 
Activate with a spray of water.
Let dry. I added a second coat.


Step 3. Layers
Adhere the corrugated card onto the background running down the left hand side of the page.
Choose your patterned paper and tear approximately 4inches wide. Distress the edges with the blade of a pair of scissors or distressing tool. Ink the edges with Vintage Photo Distress Oxide. Adhere on top of the corrugated card so that the corrugated card is still visible from behind the pattern paper.


Step 3. Make your embellishments.
Fussy cut the elements from the pattern papers.
To build the flowers and leaves I cut them on a big shot die cutting machine with a layered flower dies and a leaf die.
I inked the edges with Vintage Photo Distress Oxide and used a ball stylus to curl the petals. I then layered the flowers together and adhered with wet glue and finished the centre off with a drop of white Nuvo drops.


Step 4. Mat the photo
Offset the layers and distress the edges then ink with Vintage Photo Distress Oxide.
Adhere with foam tape for added dimension.
Step 5. Layer the Embellishments.
I heavily embellished the layout with the fussy cut elements and hand made flowers. I used adhesive foam on some and layered others in behind to create a dimension effect.
I used the smaller leaves from the chipboard pieces that I embossed with white embossing powder and heat set.


Step 6. Finish with black splatters.
I flicked some black ink splatters around the page. 


I thoroughly enjoyed working with this collection. It was a great opportunity to get out some mixed media and get a little messy.
I hope I have inspired you in some way.


Visit Craft on the Run at:

For more inspiration check out Kylie's Kreations at:
Instagram: Kyliecoleman50 
Pinterest: https://pin.it/7wbUP2V
Blog: kylieskreations2020.blogspot.com

Thanks for stopping by and happy crafting everyone 

Kylie xx

Sunday, August 16, 2020

Love you for Craft on the Run


Hi all,

This month I have had the pleasure of working with the Cerulean Spring collection from 3Quarter Designs.

From my stash I added a piece of 12x12 corrugated card from Dusty Attic and a 12x12 piece of water colour cardstock.

I also used Brusho's water colour crystals in Prussian Blue, Emerald Green and Light Brown, Inka Gold Cobalt Blue, Distress Oxide Vintage Photo, Distress Ink Blueprint Sketch and Black Staz on ink.


The first thing I did was fussy cut out all the elements. I was unsure at this point what I was going to use but it never hurts to have it all ready anyhow.


Visit Craft on the Run at:

For more inspiration check out Kylie's Kreations at:
Instagram: Kyliecoleman50 
Pinterest: https://pin.it/7wbUP2V
Blog: kylieskreations2020.blogspot.com

Thanks for stopping by and happy crafting everyone 

Kylie xx