Tuesday, August 25, 2020

Sweet Dreams for Paper Passion Posh


Hi all,

Today I am sharing a layout I created for Paper Passion Posh using the Dream Catchers cut file. 


I cut it twice in two sizes on plain white textured cardstock and then coloured with Lindy's Magical shakers in Magnolia Magenta Gold, Time Travel Teal and Bavarian Blue.

I made the larger dream catcher into a shaker.


For the background I used white textured cardstock and coloured diagonally across the page with the Lindy's magical Magnolia Magenta Gold.


I continued the diagonal theme across the page as I adhered the pieces down.


I used left over pieces from the Happiness collection from Cocoa Vanilla Studio to embellish and finished with some black splatters around the page.


I hope I have inspired you in some way today. 

For more cutfiles check out 
Paper Passion Posh at:
https://www.etsy.com/ca/shop/PaperPassionPosh?ref=search_shop_redirect


For more inspiration check out 
Kylie's Kreations at:
Instagram: Kyliecoleman50 
Pinterest: https://pin.it/7wbUP2V
Blog: kylieskreations2020.blogspot.com

Thanks for stopping by and happy crafting everyone 

Kylie xx

Tuesday, August 18, 2020

Forever for Craft on the Run


 Hi again,

I'm back again sharing the step by step instructions for how I created this layout featuring the Cerulean Spring collection from 3Quarter Designs.

From my stash I am using white textured cardstock for my base, you could also use watercolour cardstock and Brusho's watercolour crystals in Emerald Green and Prussian Blue and Colbalt Blue along with white acrylic paint, black Staz on ink and Prima Chalk Paste in Buckram Binding and Distress Oxide in Vintage Photo. I also used the Tim Holtz Measured stencil, Kaisercraft 6x6 Stencil words stencil and Uniquely Creative Text stamp.

Step 1. The background.
Spray the cardstock with water.
Sprinkle with Brusho's watercolour crystals.
Spray with water. Watch the magic happen.
Let dry.
Apply white Gesso or white acrylic paint through the stencil words stencil with a make up sponge randomly over the page.
Add stamping with black Staz on ink and a text stamp. 
Again using the make up sponge apply the chalk paste through the Measured stencil.


Step 2. The corrugated card.
Apply a layer of Gesso or white acrylic paint and let dry. I did two layers.
Sprinkle the watercolor crystal randomly over the gesso. 
Activate with a spray of water.
Let dry. I added a second coat.


Step 3. Layers
Adhere the corrugated card onto the background running down the left hand side of the page.
Choose your patterned paper and tear approximately 4inches wide. Distress the edges with the blade of a pair of scissors or distressing tool. Ink the edges with Vintage Photo Distress Oxide. Adhere on top of the corrugated card so that the corrugated card is still visible from behind the pattern paper.


Step 3. Make your embellishments.
Fussy cut the elements from the pattern papers.
To build the flowers and leaves I cut them on a big shot die cutting machine with a layered flower dies and a leaf die.
I inked the edges with Vintage Photo Distress Oxide and used a ball stylus to curl the petals. I then layered the flowers together and adhered with wet glue and finished the centre off with a drop of white Nuvo drops.


Step 4. Mat the photo
Offset the layers and distress the edges then ink with Vintage Photo Distress Oxide.
Adhere with foam tape for added dimension.
Step 5. Layer the Embellishments.
I heavily embellished the layout with the fussy cut elements and hand made flowers. I used adhesive foam on some and layered others in behind to create a dimension effect.
I used the smaller leaves from the chipboard pieces that I embossed with white embossing powder and heat set.


Step 6. Finish with black splatters.
I flicked some black ink splatters around the page. 


I thoroughly enjoyed working with this collection. It was a great opportunity to get out some mixed media and get a little messy.
I hope I have inspired you in some way.


Visit Craft on the Run at:

For more inspiration check out Kylie's Kreations at:
Instagram: Kyliecoleman50 
Pinterest: https://pin.it/7wbUP2V
Blog: kylieskreations2020.blogspot.com

Thanks for stopping by and happy crafting everyone 

Kylie xx

Sunday, August 16, 2020

Love you for Craft on the Run


Hi all,

This month I have had the pleasure of working with the Cerulean Spring collection from 3Quarter Designs.

From my stash I added a piece of 12x12 corrugated card from Dusty Attic and a 12x12 piece of water colour cardstock.

I also used Brusho's water colour crystals in Prussian Blue, Emerald Green and Light Brown, Inka Gold Cobalt Blue, Distress Oxide Vintage Photo, Distress Ink Blueprint Sketch and Black Staz on ink.


The first thing I did was fussy cut out all the elements. I was unsure at this point what I was going to use but it never hurts to have it all ready anyhow.


Visit Craft on the Run at:

For more inspiration check out Kylie's Kreations at:
Instagram: Kyliecoleman50 
Pinterest: https://pin.it/7wbUP2V
Blog: kylieskreations2020.blogspot.com

Thanks for stopping by and happy crafting everyone 

Kylie xx

Monday, August 10, 2020

Love this life for Paper Passion Posh

Hi all,

I'm back today sharing my latest layout using the Clustered Heart Background from Paper Passion Posh.


First I cut the cutfile on white textured cardstock. I enlarged it to fill up the background. I then offset a second cut on patterned paper. I am using the Gums and Roses collection from Uniquely Creative.


I layered the two cutfiles together and backed with adhesive foam for dimension off the page.


Next I layered up the embellishment clusters which I had fussy cut from the collection. I choose a black and white photo to pop against the soft colours.

I used the "Love this life" laser cut for my title. And finished with some Nuvo drops around the page.


I love the look of the hearts with the beautiful soft tonnes from this collection. 

I hope I have inspired you in some way today. 

For more cutfiles check out 
Paper Passion Posh at:
https://www.etsy.com/ca/shop/PaperPassionPosh?ref=search_shop_redirect


For more inspiration check out 
Kylie's Kreations at:
Instagram: Kyliecoleman50 
Pinterest: https://pin.it/7wbUP2V
Blog: kylieskreations2020.blogspot.com

Thanks for stopping by and happy crafting everyone 

Kylie xx

Monday, August 3, 2020

Tropical Pink Heatwave kit for Twitchit Craft Kits

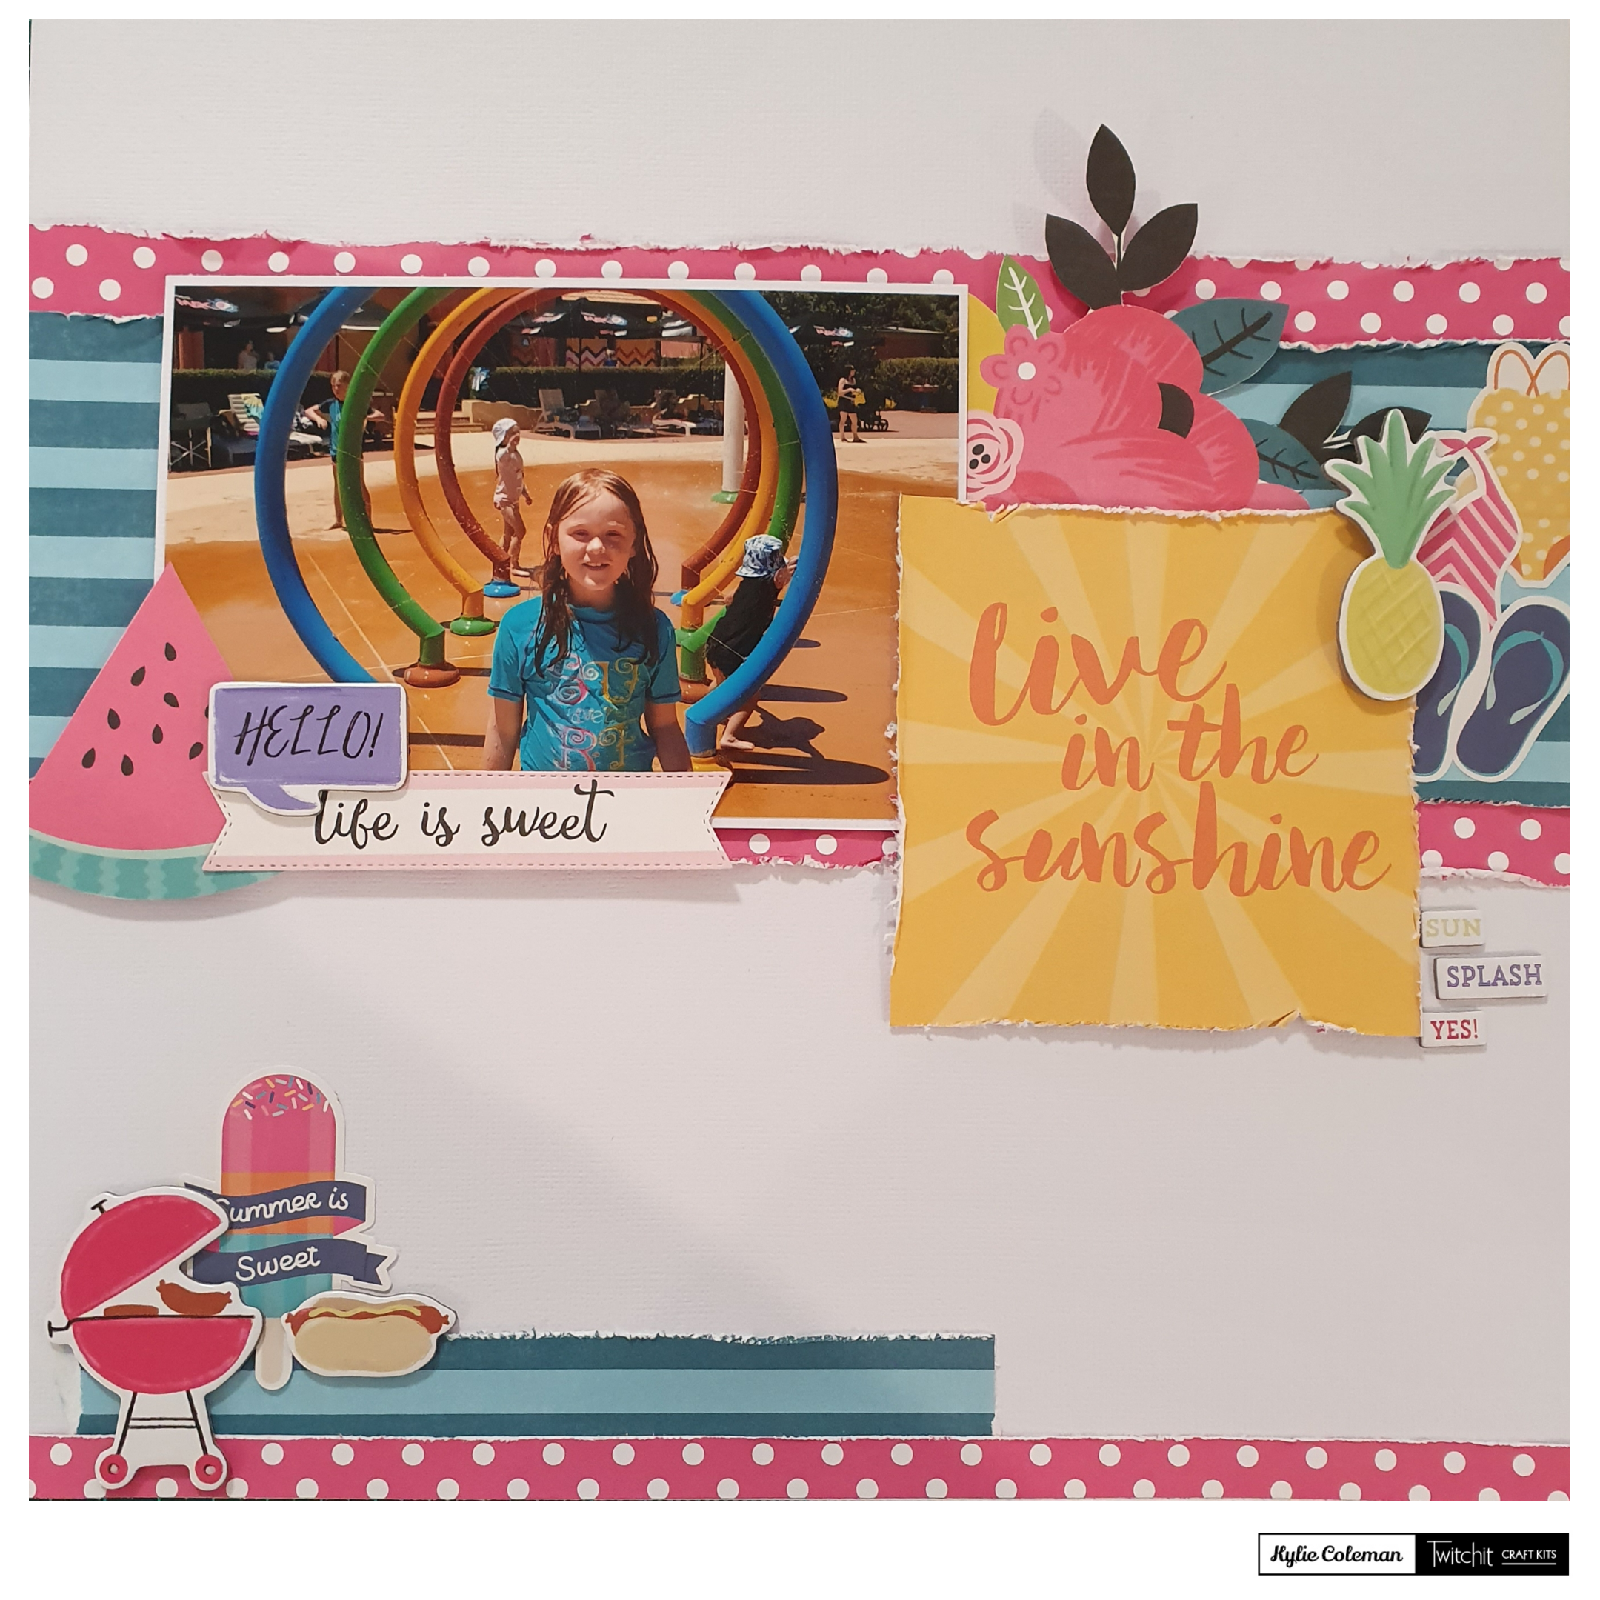
Oh my gosh!!! Let me tell you, pink is my favourite colour and the Tropical Pink Heatwave kit from Twitchit Craft Kits has plenty of pink. I couldn't wait to get started.

Get your kit here:
https://www.facebook.com/TwitchitCraftKits/


My vision for my first page was to use the tags and frames. I knew I wanted to use multiple photos across the middle of the page and have the tags coming out from behind. The colours match my daughter's swim suit perfectly. I set about layering the frames under the middle pink strip, using that gorgeous yellow polka dots as my background. I cut the frames in half so I could have them at the top and bottom. I didn't quite have enough to stretch the 12 inches of the page so I cut some extras with some old frame dies and my big shot. You could trace and cut by hand also.


I added a half inch stripe to the bottom of the page and a cluster of embellishments from both the sticker sheet and the chipboard accents. I then added two more embellishment clusters to complete a visual triangle and incorporated the "Hello sunshine" tag as my title.

My next layout came together fairly quickly. A simple design using some fussy cut florals from the floral page,  layered with the embellishments around the page to again complete a visual triangle. I distressed the edges and used white textured cardstock as my base, this added white space and really makes the colours pop. I used a combination of the stickers and and chipboard accents to complete the clusters.


For my next layout I just HAD to use one of the flamingos from the die cuts pack. I used white textured cardstock as my base with a half inch stripe at the top and bottom of the page. I angled the photo base to create interest and distressed the edges. I layered 3 cluster embellishments down the right hand side and balanced with the flamingo. Finishing off with some pink splatters.


Finally My fourth layout using the collection focuses on a larger photo one of my all time favourites. I matted the photo with the floral paper and offset to the right of the page. Again I used the yellow polka dots paper across the middle and a half inch stripe across the top and bottom of the page. I cut out the flowers on my big shot using an old layering flower die set and cut the title using an alpha die set. I layered some more stickers and chipboard accents and called it finished.


This kit is definitely one of favourites. For more kits and inspiration please go to: 
https://www.twitchit.com.au/

Check out Kylie's Kreations at:
Instagram: Kyliecoleman50 

Pinterest: https://pin.it/7wbUP2V

Thanks for stopping by and happy crafting everyone 

Kylie xx

Jordan for Craft on the Run


Hi all,

Today I'm sharing my second layout using Day By Day collection from Mintay papers for Craft on the Run.


For this layout I used the MT-DAY-04 as my base with a torn stripe of MT-DAY-02 down the middle of the page. I die cut two sets of bricks in black cardstock using Kaisercraft Bricks die from my stash and adhered one either side of the stripe. these will become the base for my embellishment clusters. I also layered in some cheese cloth for added texture.


I layered the photo and stuck it to the middle of the age using some foam tape and cluster the flowers I had previous fussy cut from the top right diagonally to bottom left. This creates a nice flow.


I added my title with some black alphas from my stash and finished with some chipboard accents from the collection.


This was a beautiful collection to work with. I hope I have inspired you in some way.
Visit Craft on the Run at:

For more inspiration check out Kylie's Kreations at:
Instagram: Kyliecoleman50 
Pinterest: https://pin.it/7wbUP2V
Blog: kylieskreations2020.blogspot.com

Thanks for stopping by and happy crafting everyone 

Kylie xx


Never Quit for Craft on the Run


Hi all,

Today I'm working with my July DT kit for Craft on the Run. Using the beautiful Day By Day collection from Mintay papers. Absolutely stunning!!


As with many of the Mintay collections I began with fussy cutting out all those elements. A task in itself but well worth the effort. 


Immediately I was inspired by the elements to create a layout about eldest daughter whom at the age of 16 knows exactly what she wants to do with her life and what she needs to achieve her goals. This page is a reminder for her to continue to work hard and never quit. Hence the title "work hard, Never quit!"  

I started with the black and white MT-DAY-05 as my base which I added a torn strip of MT-DAY-02 down the left hand side of the page. To this I added a layer of cheese cloth before adhering the photo.


From here I kept the layout simple and began adding the various elements and chip board accents. Some I adhered with foam tape to create dimension and lift off the page. For some added interest I cut a couple of flourishes using the Uniquely Creative Flourish Die.


Finally my finishing touch was to add one of the large black flower blooms which I toned down with a little Art Alchemy wax in rose gold.
Visit Craft on the Run at:

For more inspiration check out Kylie's Kreations at:
Instagram: Kyliecoleman50 
Pinterest: https://pin.it/7wbUP2V
Blog: kylieskreations2020.blogspot.com

Thanks for stopping by and happy crafting everyone 

Kylie xx

By the sea for Twitchit Craft Kits


Hi all,

I am back again with another layout using the Deep Blue Sea kit from Twitchit Craft Kits. Today I am using the beautiful woodgrain paper as my background. Who doesn't love a woodgrain paper??

Get your kit here:
https://www.facebook.com/TwitchitCraftKits/


Step 1. Create the background
1. Cut the woodgrain paper on the diagonal corner to corner and adhere to Sail Away text page.
2. Cut a 1 inch stripe of the Red/Navy paper. Using a scallop border punch to decorate the edge. Note: this stripe may not fit diagonally across the page. you may need to get creative and cut the piece in two, making sure to hide the missing piece under the photo mat.
3. Cover the join with a stripe of washy tape.


Step 2: Mat and adhere the photo
1. I chose a variety of the pattern papers from the kit to mat my photo.
2. Distress the edges of the papers with a pair of scissors or distressing tool.
3. Pop the photo mat up off the page by using dimensional foam tape.


Step 3: Embellish using the element sticker sheet and Tags and Frames pack
1. Cut the blue and white scallop frame in two and layer behind the left and right of the photo mat.
2. Cluster embellishments on either side of the photo. Pop some up with dimensional foam tape.
3. Add a third cluster to complete the triangle of clusters for a balanced look.


Step 3. Finish by adding enamel dots around the page.
This completes the layout.


I hope I have inspired you  in some way.

 For more kits and inspiration please go to: 
https://www.twitchit.com.au/

Check out Kylie's Kreations at:
Instagram: Kyliecoleman50 

Pinterest: https://pin.it/7wbUP2V

Thanks for stopping by and happy crafting everyone 

Kylie xx